Heart 2 Heart Party: DIY Decorations
6:08 PMI love Valentine's Day! It's my favorite holiday so I'll share some Valentine's day inspired ideas. This is going to be the first of a two part series on creating your own Valentine's day inspired crafts and treats.
Every party should have decorations so here are a series of projects that can be used to brighten any setting.
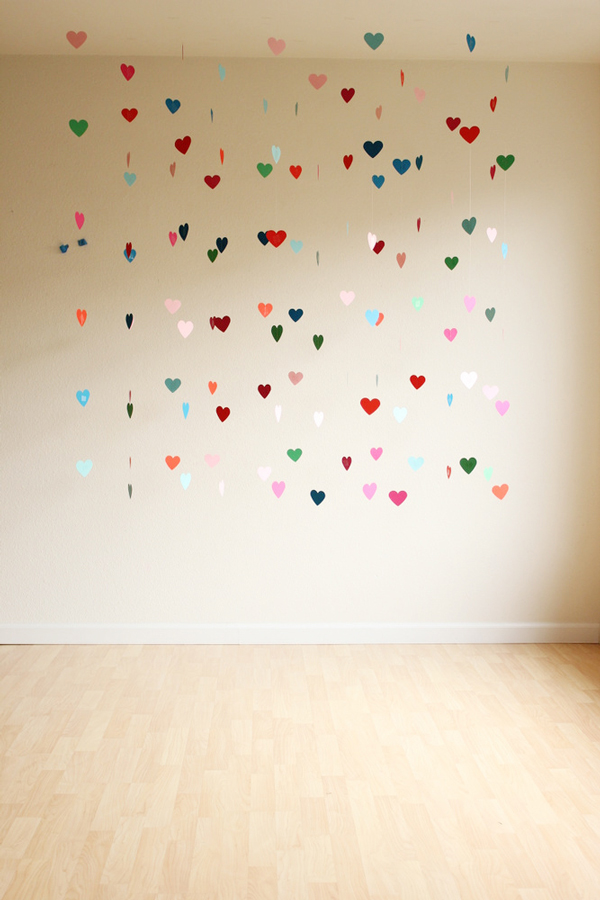
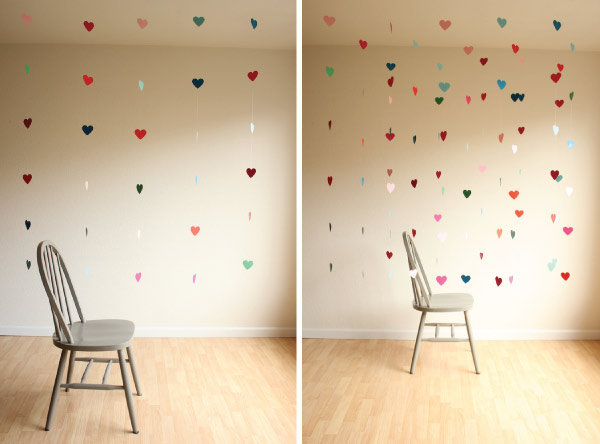
1. DIY Hanging Heart Craft by Hank and Hunt
Supplies:
1. Clear fishing line
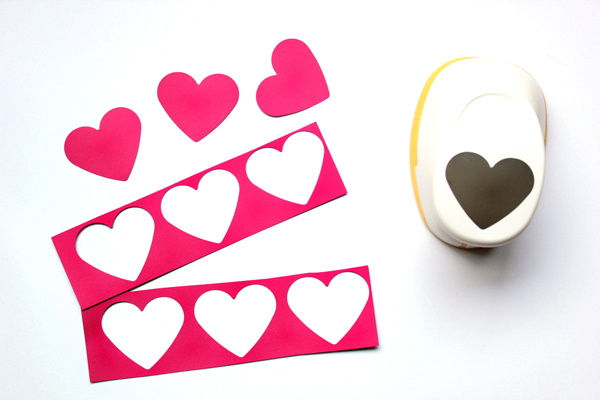
2. Heart punch,
3. Card stock in fun colors
4. Tape (regular and painter)
5. Scissors

Directions:
1. Cut a piece of fishing line and strand your garland on the table with tape
2. Tear off ten pieces of painter's tape and place five on each end about six inches apart.
3. Take the fishing line and pull it out 12 inches.
4. Tape it down at one end of the floor and pull the spool down to the second piece of tape.
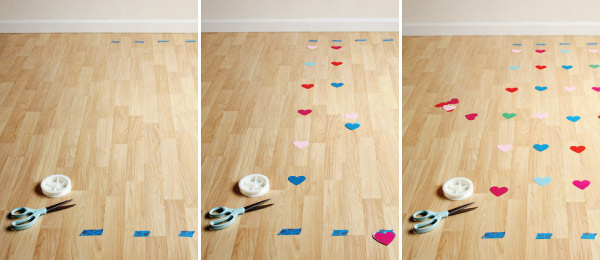
5. Tape the line taut and cut. Start at the other end and tape down four more pieces.
6. Once your lines are taped, add each set of hearts by lining up the center of the heart underneath each line, about a foot apart. Repeat until you have all of your hearts under the lines.
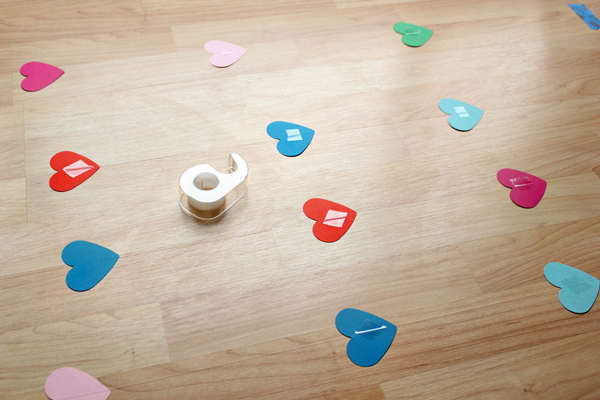
7. Then take a small piece of tape and attach each heart to the line. Make sure all of your hearts are attached before peeling back the painters tape and hanging.
8. Hang your garlands one at a time, starting five feet from the wall, and hang one garland to the edge of your photobooth area. Add the remaining garlands 1 foot apart, also attaching to the ceiling.
9. Make 5 more garlands on the floor and hang the first one one foot closer to the wall and six inches left to where you placed the previous row's garland. Hang the rest of the garlands and repeat with the next two rows.
2. DIY Heart Pinata by Ellen Foord

Supplies:
Heavy Watercolor Paper or Card Board
Candy
Tissue Paper
Tape
Scissors
Directions:
1. Fold the paper in half and roughly cut a half heart shape.

2. I used that first heart to trace an identical one on a second sheet of paper.

3. Grab your scissors, and get to cutting.

4. Next, cut a few 2-3 inch strips of the same thick paper to make up the sides of the piñata.

5. Using the strips of paper, start taping the sides on the first heart.

6. Attach the sides all the way around.

7. Now attach the second heart, leaving a small unattached section. This is where you’ll put in the candy when you’re ready.

8. Cut the tissue paper.

9. Once you’ve got a few sections of tissue fringe, you can start applying it.

10. When you’re ready to apply the fringe, start at the bottom and layer up.

11. Time to give that bad boy a little trim….

12. Now you’re ready to fill in the candy.

13. You can use more tape to close up the piñata, but a few drops of hot glue is faster.

14. Once the glue dries, you can cover the sides with a few strips of tissue paper.

15. Done!


2 comments
This is totally Great Information,
ReplyDeleteThanks for Sharing.
For additional information, if you need The Best Syncronize Genset Rental Service in Indonesia to support your event or something else. You can try to contact us Arthur Teknik.
Appreciate this bloog post
ReplyDelete