{DIY Custom Tissue Paper Tutorial}
10:51 AM
Howdy!
So I'm always looking for new inexpensive ways to make my brand stand out to create a unique "Unboxing" experience for my end receiver, my clients. I looked at custom tissue paper and the prices were quite steep and more than I expected to pay. I did a quick video in January of this year but thought it was time for a blog post.
If you are looking for a cute inexpensive way to create a brand unboxing experience for your client then stay tuned.
First you'll need to order a custom stand with your logo on it. I ordered mine from Rubberstamps.net. I prefer self inking over the one with the stamp pad but it's personal preference. Choose the size stamp you'd like. I chose a large stamp. Rubber Stamps processed my order and I had my stamp within a few days.

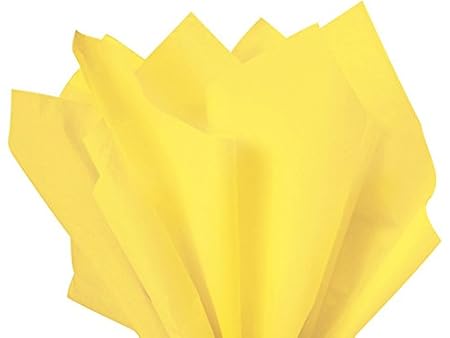
Pick up some tissue paper in your brand's colors. Since this is for my business I chose to use my brand's colors which are hot pink, teal, yellow, white and a dark charcoal color so I can use any of these colors for my tissue paper. White is always good but add some flavor by using colored tissue paper.
Now that you have your stamp and tissue paper we can begin. On a table, lay down some newspaper or a kraft paper to put your tissue paper on. The stamp will possibly bleed through just a little depending on the thickness of your paper. Lay down 1-2 sheets of tissue paper and beginning stamping where you want your logo to appear. Allow to dry for a few minutes before stacking them. Voila! Your very own custom tissue paper. I am so excited about this DIY! I can't wait for my clients to receive their items with my very own handmade tissue paper.

Tip for use: The possibilities are endless!
Apparel
Jewelry
Gift Bags/ Boxes
Shipping boxes
Desserts/Baked Goods
Will you try this DIY? Comment below on how you'd use it in your business.
Lavish Parties and Prints by Talia
Email: info@lavishbytalia.com
Facebook: www.facebook.com/lavishbytalia
Twitter: www.twitter.com/lavishbytalia
Pinterest: http://pinterest.com/lavishbytalia


9 comments
Hello! I've been reading your blog for a long time now and finally got the courage to go ahead and give you a shout out from Kingwood Tx! Just wanted to say keep up the fantastic job!
ReplyDeletewedding photography
Thank you for spending the time to write such an in-depth post on custom graphic design. Your blog is not only informative, but it is also very creative.
ReplyDeleteThis comment has been removed by the author.
ReplyDeleteCustom tissue is personalized wrapping paper used for packaging, gifting, and branding. It enhances presentation, protects items, and promotes businesses with logos, patterns, or messages, adding a unique touch to products.
ReplyDeleteRead more:
Why Custom Tissue for Food is a Game-Changer for Your Business
Custom tissue is personalized tissue paper used for branding, packaging, or special occasions. It enhances product presentation, adds a premium touch, and helps businesses create a memorable unboxing experience.
ReplyDeleteRead more:
How Custom Tissue for Food Enhances London’s Dining Experience
Custom tissue paper adds a personalized touch to packaging, enhancing brand identity. It’s perfect for wrapping gifts or products, offering elegance, protection, and a memorable unboxing experience for customers.
ReplyDeleteRead more:
Discover the Versatility of Custom Tissue Paper in London
Custom tissue paper adds a professional, elegant touch to packaging. It enhances brand identity, protects products, and creates a memorable unboxing experience for customers. Ideal for retail, gifting, and promotions.
ReplyDeleteRead more:
Exploring the Art of Custom Tissue Paper in London: Elevate Your Food Business with Style
Custom tissue paper adds a unique touch to packaging, enhancing brand identity. It’s ideal for wrapping products, gifts, or retail items, offering elegance, protection, and a memorable unboxing experience.
ReplyDeleteRead more:
Why Custom Tissue Paper for Food in London is a Game-Changer for Your Business
I completely agree that experienced trade show booth contractors in Las Vegas can elevate a company’s presence at any exhibition. Customization and quality matter the most. Trade show exhibit and booth builder company
ReplyDelete